

Traditionally, bookmarks used to save the last read location in a book. We can start from where we had left the book.
In the modern world, the bookmark works as a reference point. While navigating through the pages on the internet, we can bookmark pages or contents of our own choice. By selecting the bookmark, we can navigate back to the page.
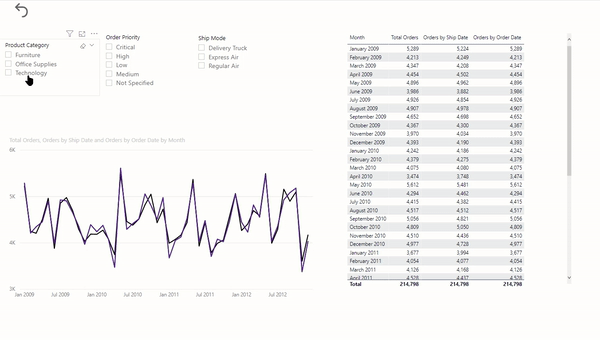
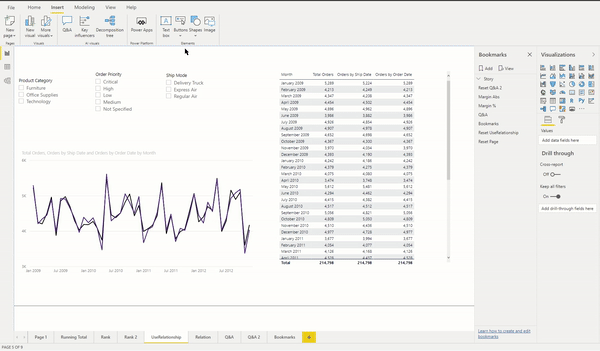
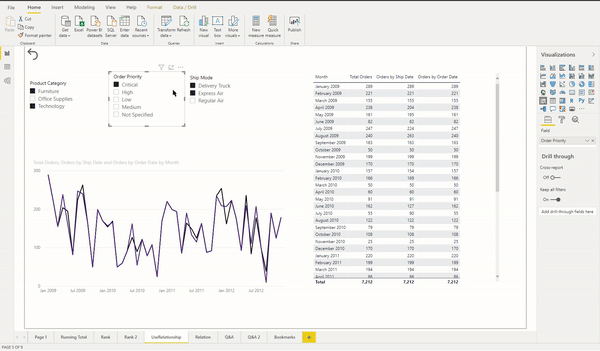
In Power BI Desktop, a bookmark can capture the current view of a page, which includes filters, slicers, selections, and the state of the visual (hidden or visible).
When called in action, it takes us to the view stored in the form of a bookmark. Essentially, it is like taking a screenshot of the page and storing it as a bookmark
Using bookmarks, we can create a new level of interactive experience in Power BI desktop.
We can reset all the filters on a page:
We can switch (show or hide) visuals
We can tell a story

Additional Panes in Power BI Desktop
Power BI Desktop was launched with two panes: Visualization & Fields. With regular updates, Power BI Desktop now has few additional panes. This article covers usage of two such panes:
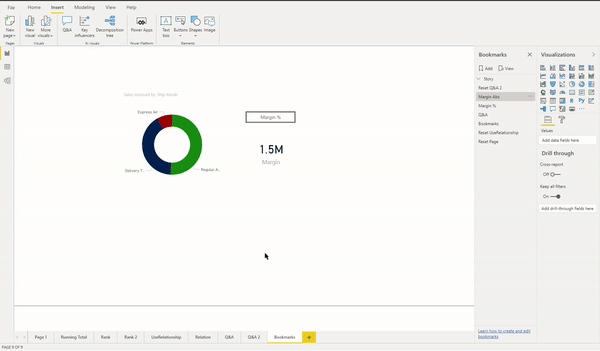
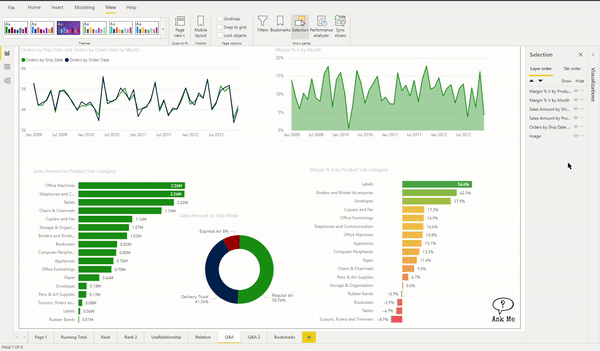
Bookmarks & Selection

Bookmarks pane shows all the available bookmarks in the report. Selection panes shows all the visuals (with visible status) on the current page:

Adding a Bookmark
Adding a bookmark is a two-step process:
Configure all the visuals, filters, and slicers on the page.
Click Add under the Bookmark pane

It adds a bookmark under the pane. It saves the following elements:
The current page
Filters
Slicers, including slicer type (for example, dropdown or list) and slicer state
Visual selection state (such as cross-highlight filters)
Sort order
Drill location
Visibility of an object (by using the Selection pane)
The focus or Spotlight modes of any visible object
Bookmark Settings
Renaming Bookmark
When we add a new bookmark, Power BI assigns a generic name. We can rename it either double-clicking on the bookmark or click on the options (three ellipses next to the name) and Rename.

Update Bookmark Settings
We can change the existing bookmark setting by clicking Update, post reconfiguring the visuals on the page.

Additionally, we can also define the scope of the bookmark on the page. For example, when we uncheck Data, bookmarks do not store the filters and the slicer settings. We have used this as a use-case later in the article.
Assigning Bookmark to an element
Once created, we can assign a bookmark to buttons, images, or shapes. The Process is simple.
1. Insert & select the element
2. Visualizations > Action > On
3. Type > Bookmarks
4. Bookmark > Select appropriate bookmark

Grouping a Bookmark
We can club a similar set of bookmarks as a group. It especially helps when we use it for running a presentation using bookmarks.
Multi-select the bookmarks using CTRL key > Options > Group

Bookmarks Use Case
Bookmark Use Case 1: Reset Existing Filters
This one is the most straightforward.
Add the bookmark when no filters or slicers applied on the page.
Add an element (button, shape, or image)
Assign the bookmark to that element
Bookmark Use Case 2: Switch (show or hide) visuals
This one involves Selection pane. Follow the article for more details: Switching visuals with Bookmarks
Bookmark Use Case 3: Presenting a Power BI report using bookmarks
A typical presentation involves a set of visuals along with the observations and recommendations presented across multiple slides. We can achieve a similar impact through bookmarks.
Follow the article for more details: Presenting with Power BI
Bookmark Use Case 4: Page navigation using bookmarks
Apart from this, we had also used bookmarks for page navigations. But with May 2020 update of Power BI Desktop, Page Navigation has been included as an Action:

The highlighted list above is the name of the pages in the report. You may follow the article on dynamic page navigation.